Important Notice: One Order, One Website!
For easy bulk import, place a separate order for each website. This ensures your CSV files are tailored to the correct site for a smooth upload process.
Important Notice: One Order, One Website!
For easy bulk import, place a separate order for each website. This ensures your CSV files are tailored to the correct site for a smooth upload process.
1- You will have to go to the My Account section, because you will have to be registered first to be able to recharge your balance.

2- Now we will proceed to register.

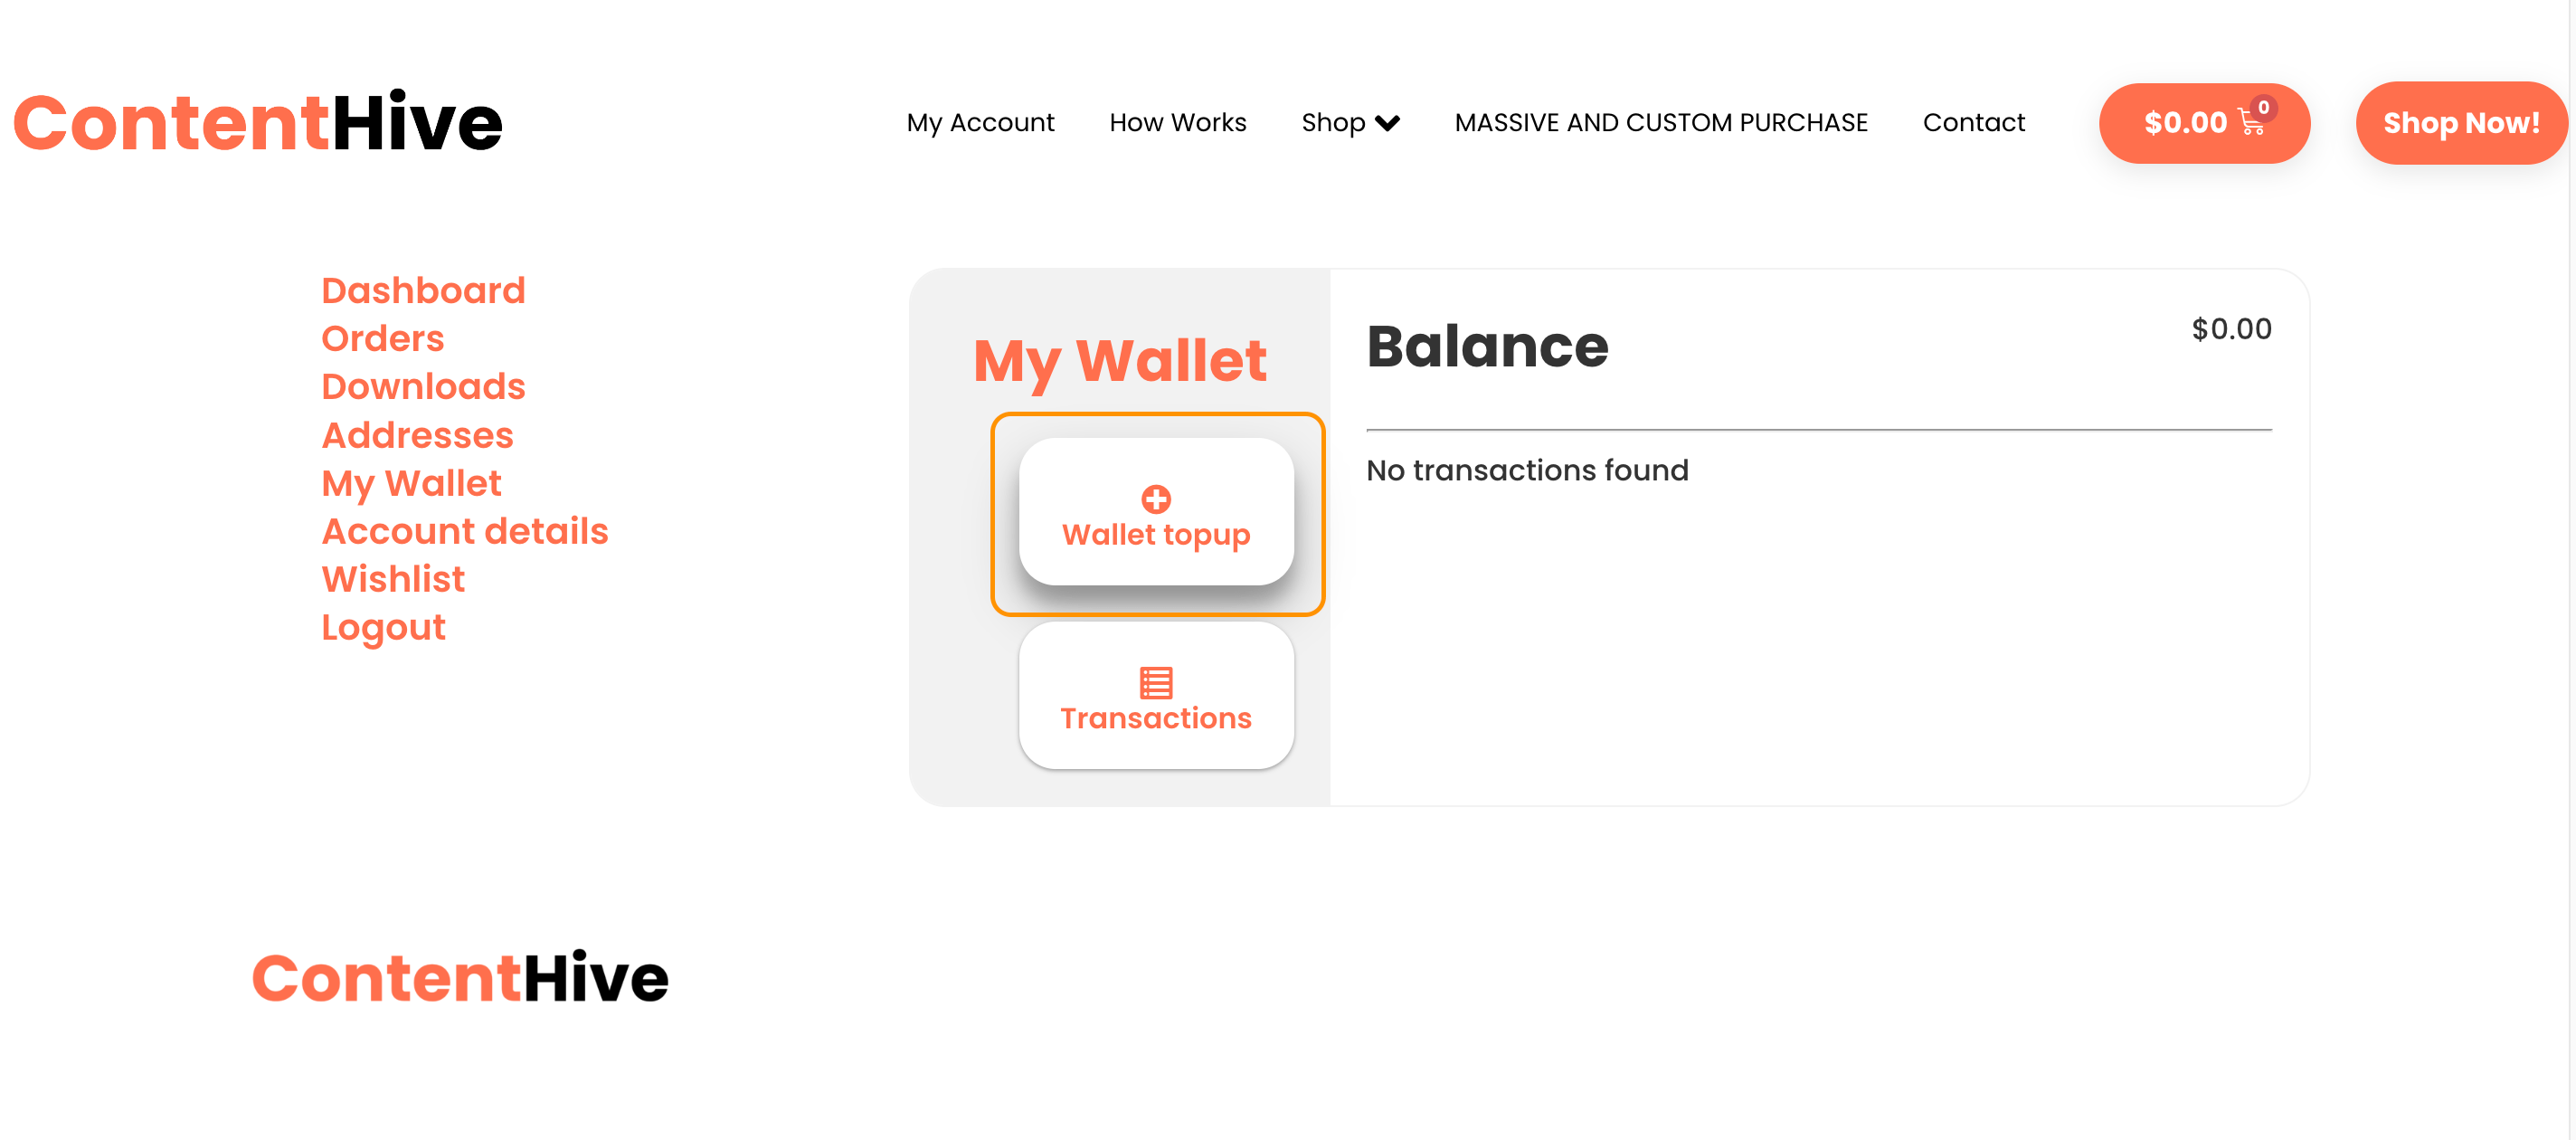
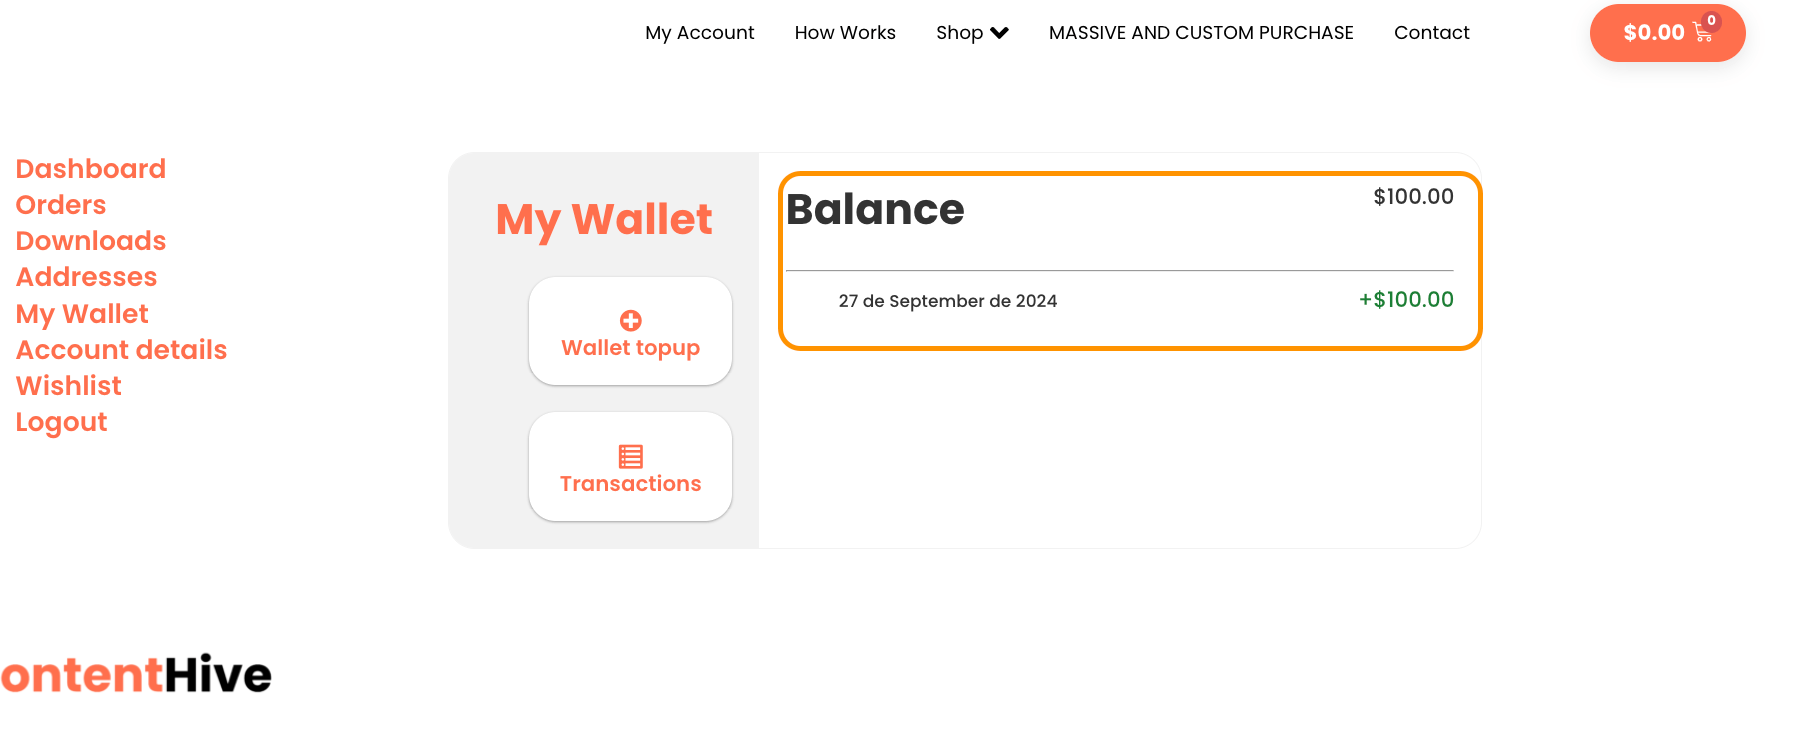
3- We will go to the My Wallet section, to recharge our balance. (On all wallet recharges, you will have a 15% discount, contacting us.)

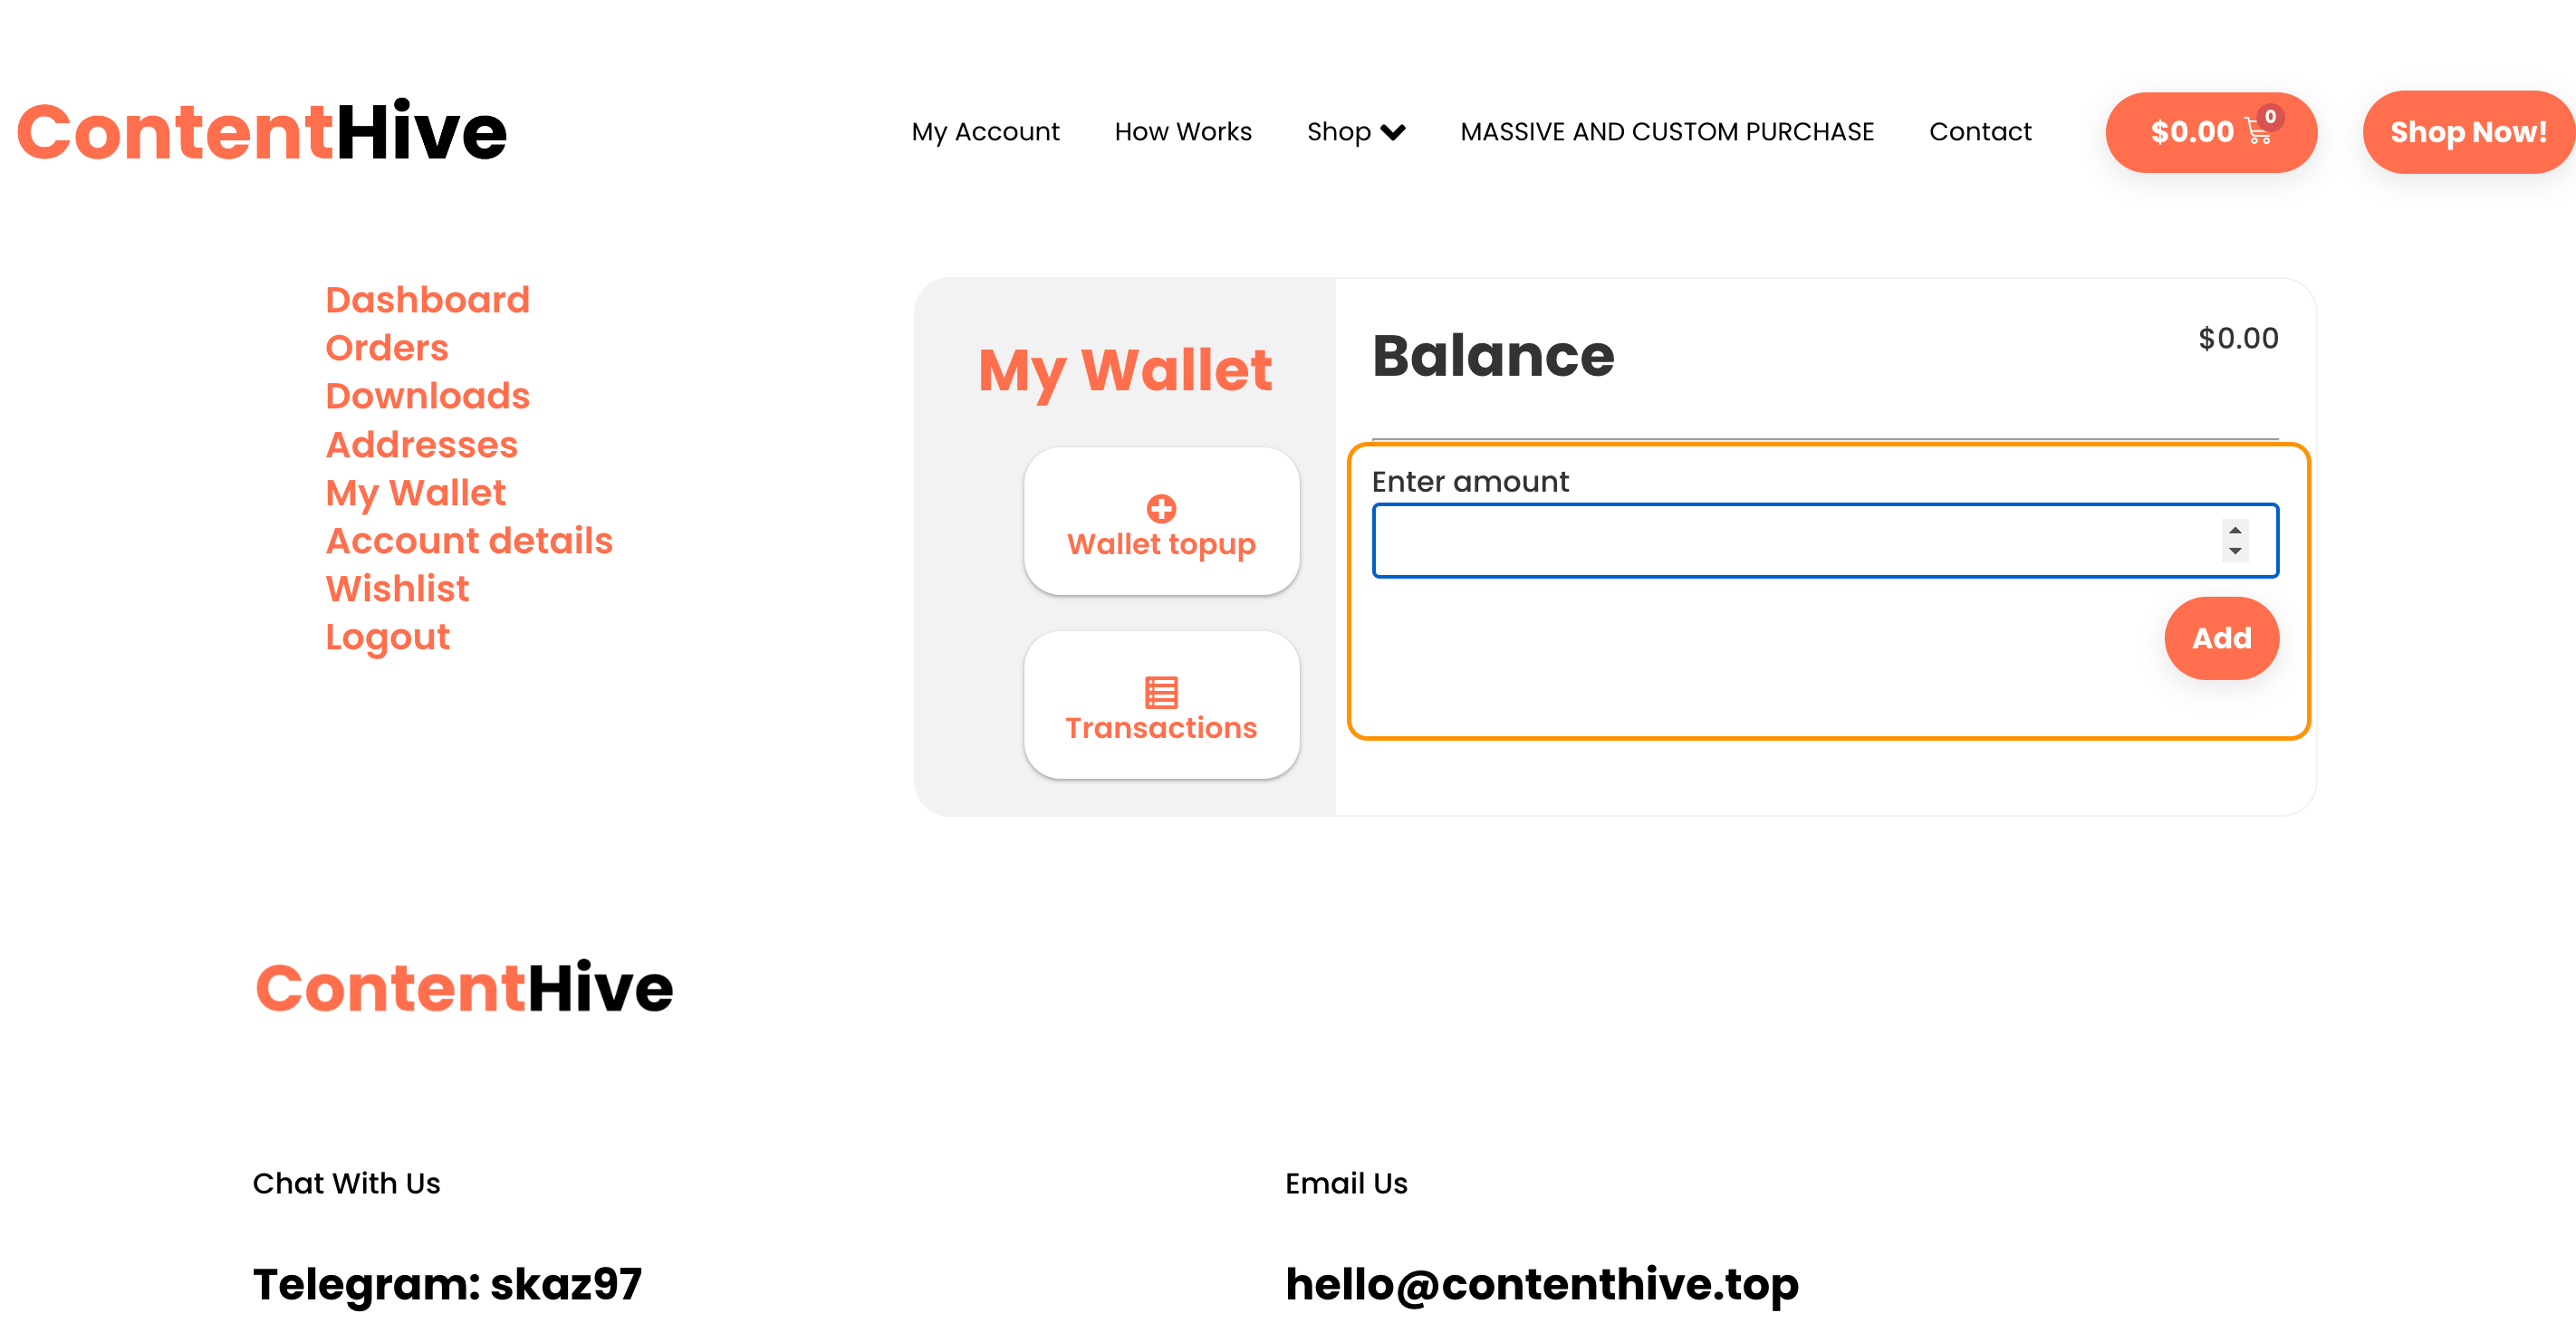
4- You will enter the amount you want to recharge and click "Add".
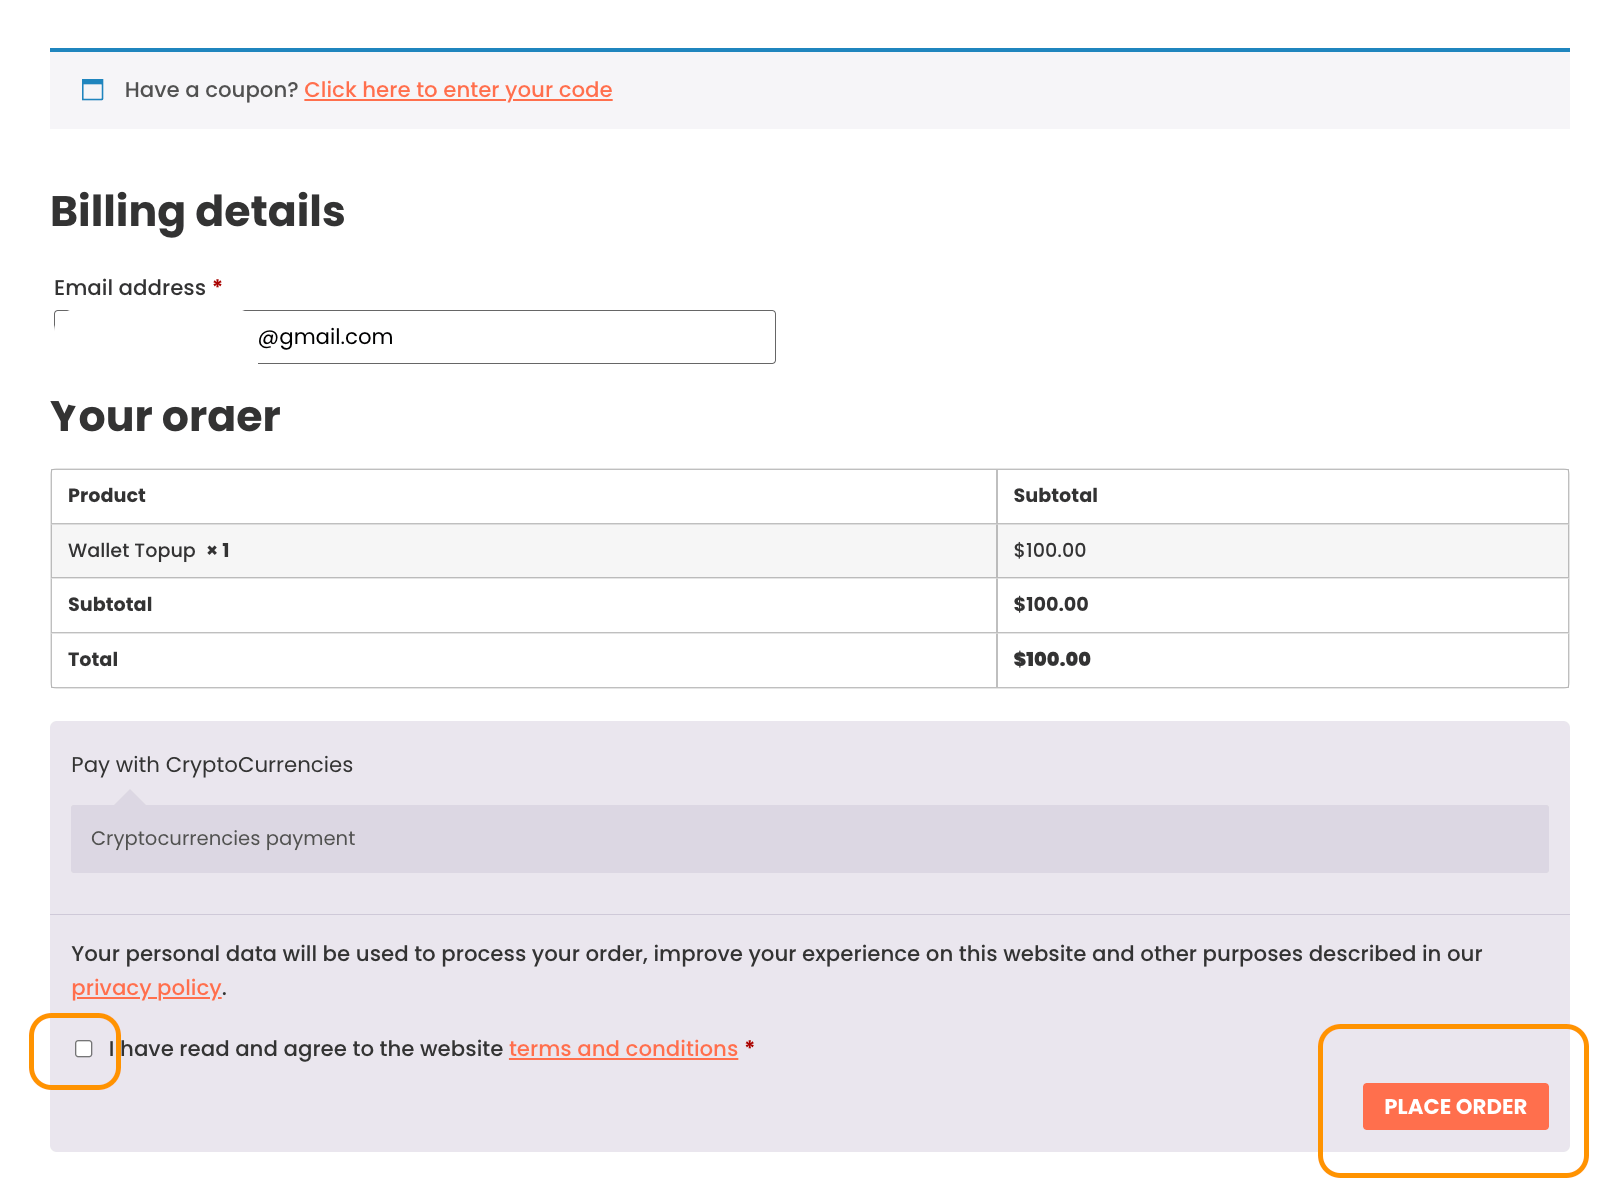
5- It will redirect you to the Checkout to proceed with the payment. (We only accept Cryptocurrencies)
You accept the terms and click "Place to Order"
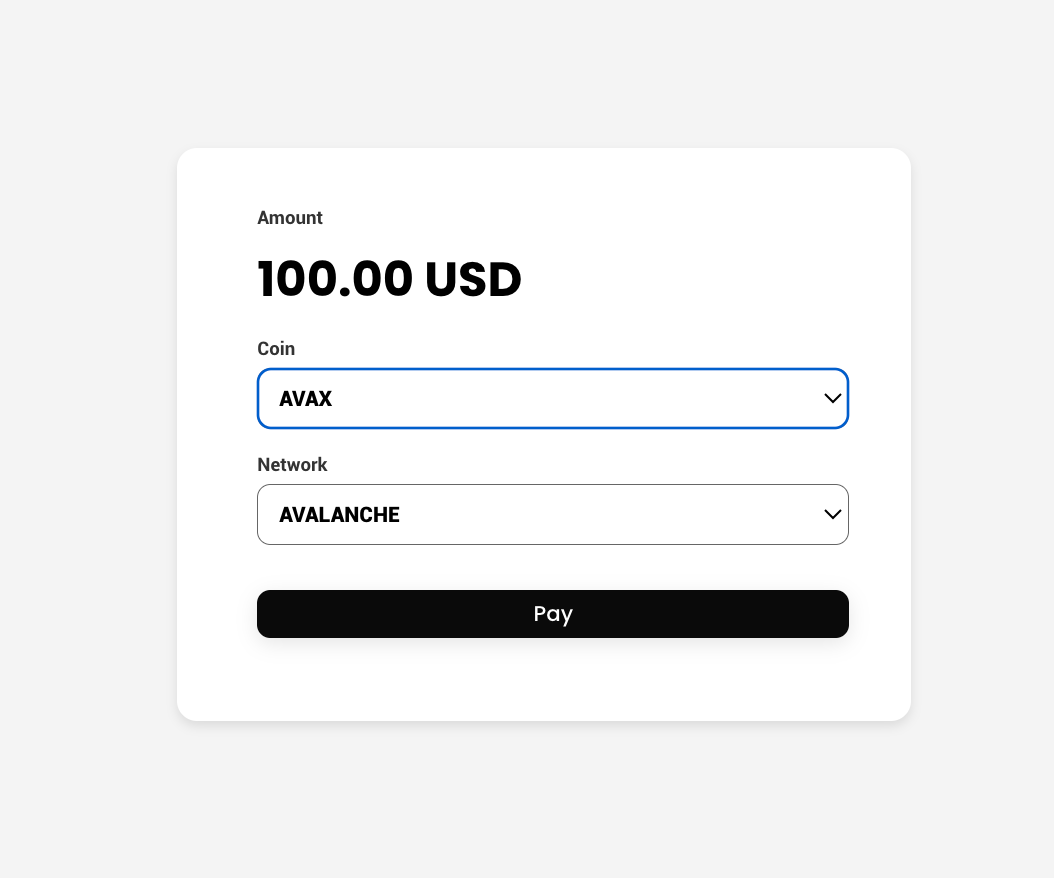
6- You choose the cryptocurrency and the network you want to use and click to pay.
*MAKE SURE TO SEND THE EXACT AMOUNT TO THE WALLET LISTED IN THE NEXT TAB AND THE CORRECT NETWORK.
And that's it. You already have your wallet recharged.
First you will have to navigate the page to see what type of items you want. Or Spanish or English speaking and also the sector category thereof.
Here you have the most popular categories and they are divided by two languages. For articles in English or Spanish.

And here you can click to browse all the categories of articles in the same language, in this case, for example in Spanish.

Let's imagine that you want articles from the "Business" category in Spanish. Well, we click on the category and add the products we want from that same category to the cart. The operation is as if it were a sneaker store.

And now, we click on the cart and click checkout if we finally want to place the order.

After checking out, we enter an email (to place the order, you must be registered and logged in), and we choose the payment method.
**WE REMEMBER THAT IF YOU PAY BY WALLET, EACH REFILL OF YOUR WALLET, YOU WILL HAVE A 15% DISCOUNT CONTACTING US ON THE SAME REFILL.

Once the payment is made, we click on "Download Entire Order", and a csv will be downloaded with all the items in a single file.
Thanks to this, we will be able to upload more than 100 articles to our website in minutes and in a couple of clicks.

Then you have the possibility of buying items from the same category randomly so that you don't have to search one by one.
And also to buy items with keywords that you have already studied (1$ each keyword), a completely custom order.

RANDOM SELECTION:

CUSTOM ORDER:

And then, the process is the same as before. You go to the cart, click on checkout and follow the payment steps, etc.
*If you want to modify the articles and see them before importing them, you have to open them with Libreoffice, and make the modifications and checks you want.
But we do not recommend it because the moment you unbalance any cell or column, the import will not work and the article will not be published correctly.
Great.
Once you have made the purchase and have downloaded the csv with all the items and all the elements to import to your website.
1- You have to install the WP All Import plugin.
2- Once the plugin is downloaded and activated. We go to the plugin and click in settings.
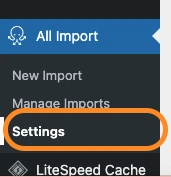
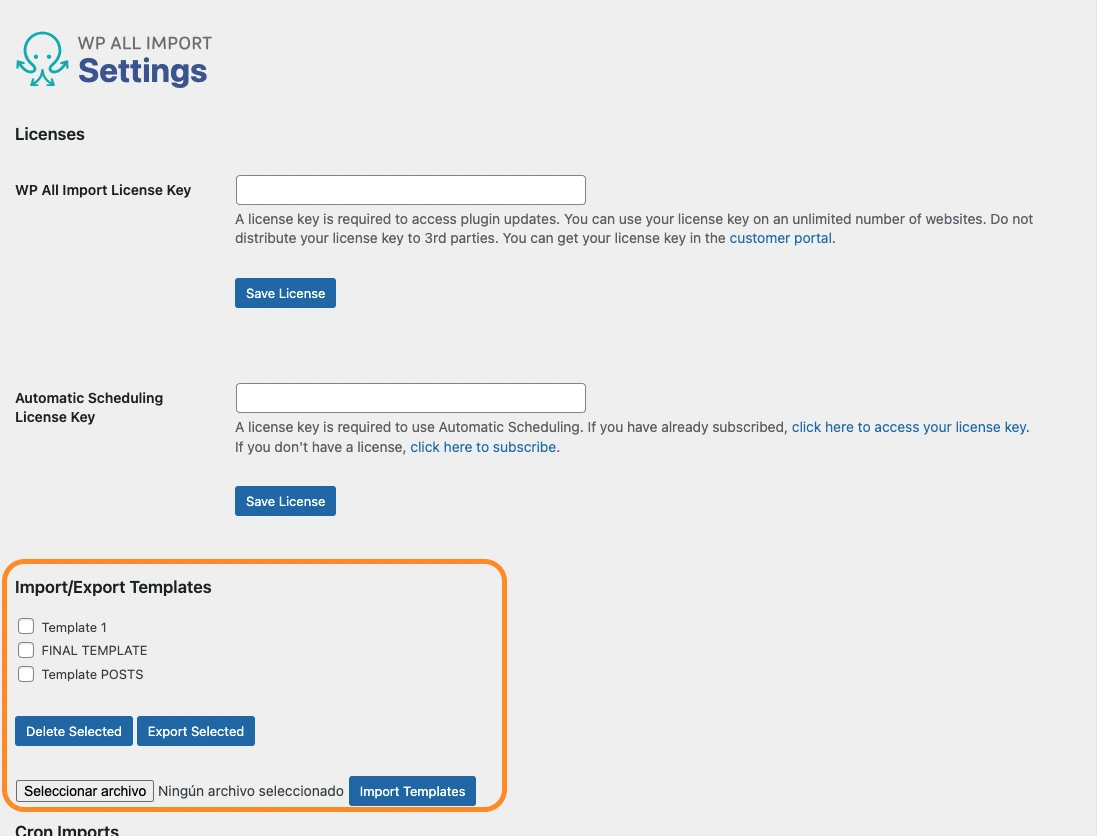
And now there as it appears in the image below, we upload this FILE (Download the file by right clicking and save link as). And then everything will be automatic forever, it will be simpler and faster.
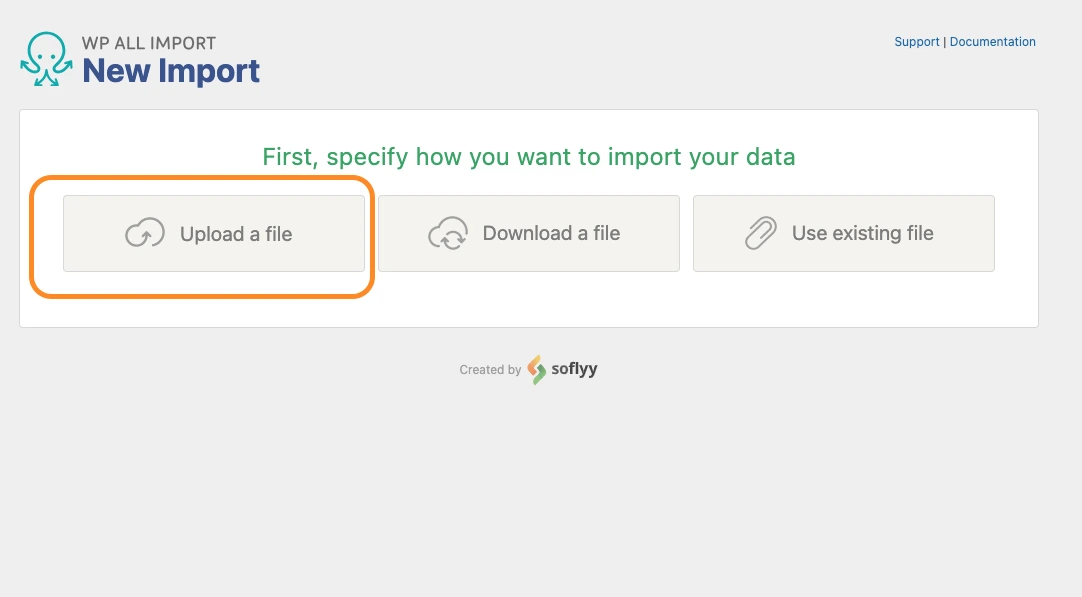
3- Ok. Now, we access the plugin and click "New Import and then, "Upload a File".
4- Afterwards, we leave the content type selected as Posts and continue to step 2.
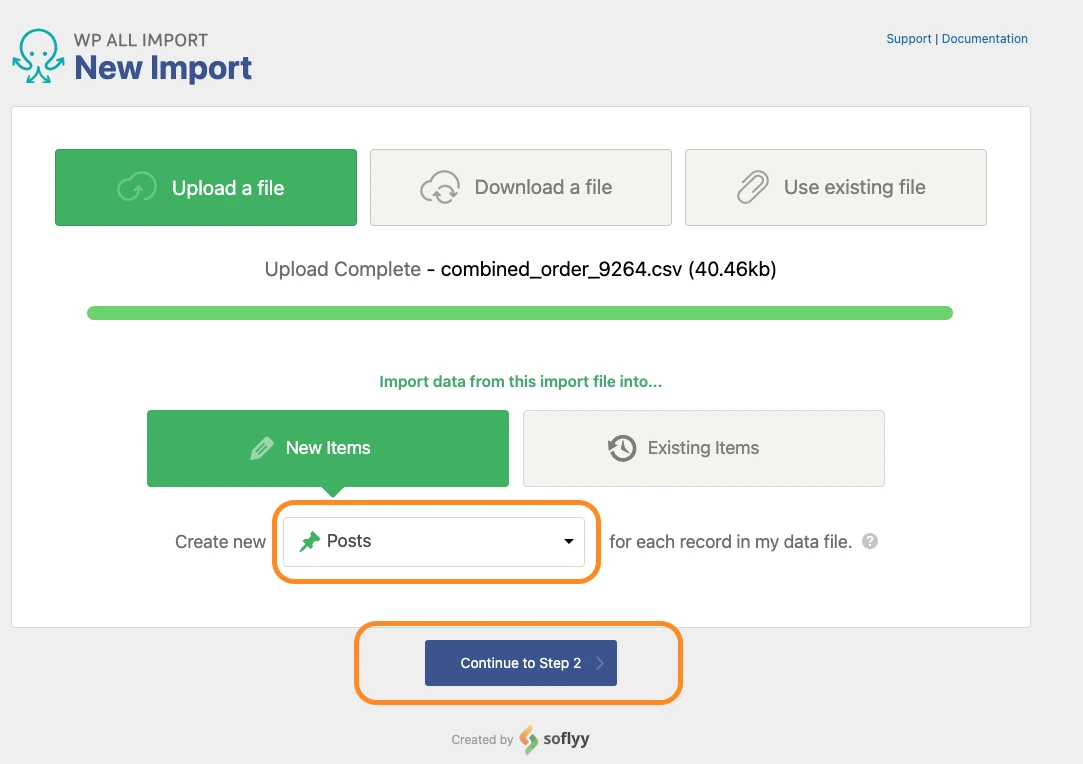
5- Now we continue forward by clicking on step 3.
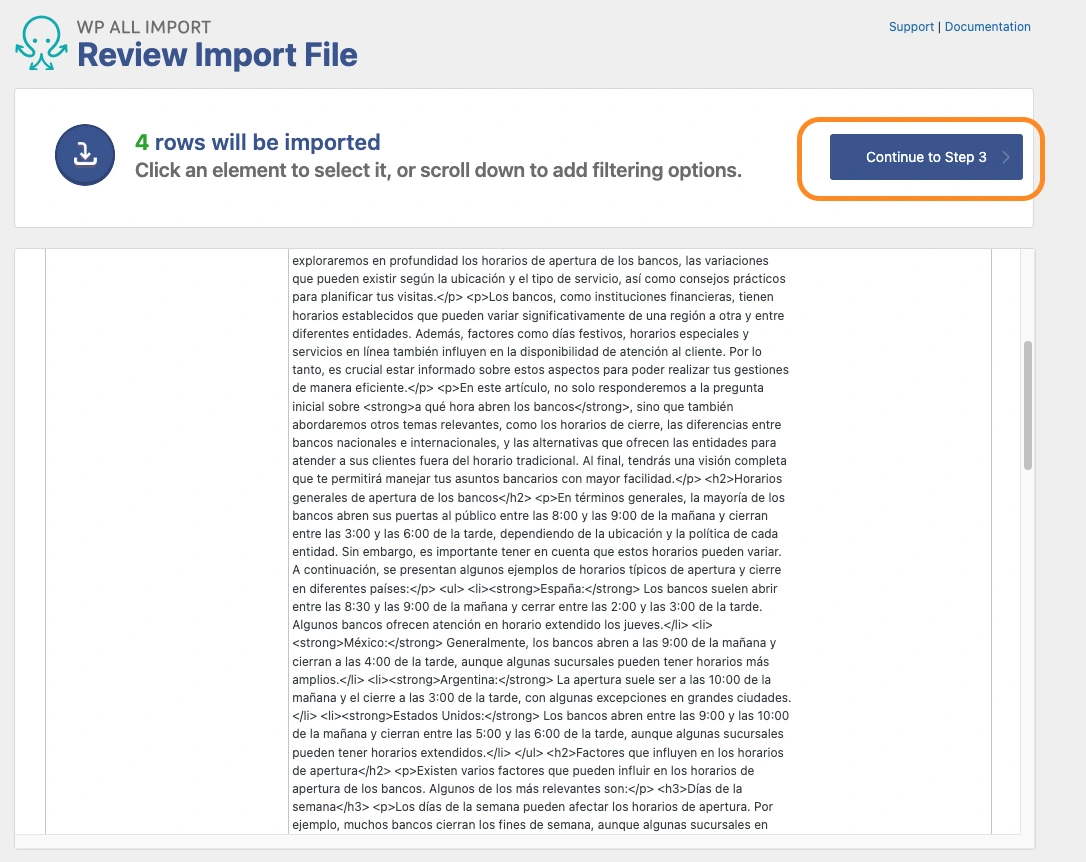
6- And now we are going to load the template that we loaded before so that everything is done automatically.
We go to the bottom of the entire screen and click on "Load a template".
We load the template called "Template POSTS". You will probably only get one template, so don't worry.
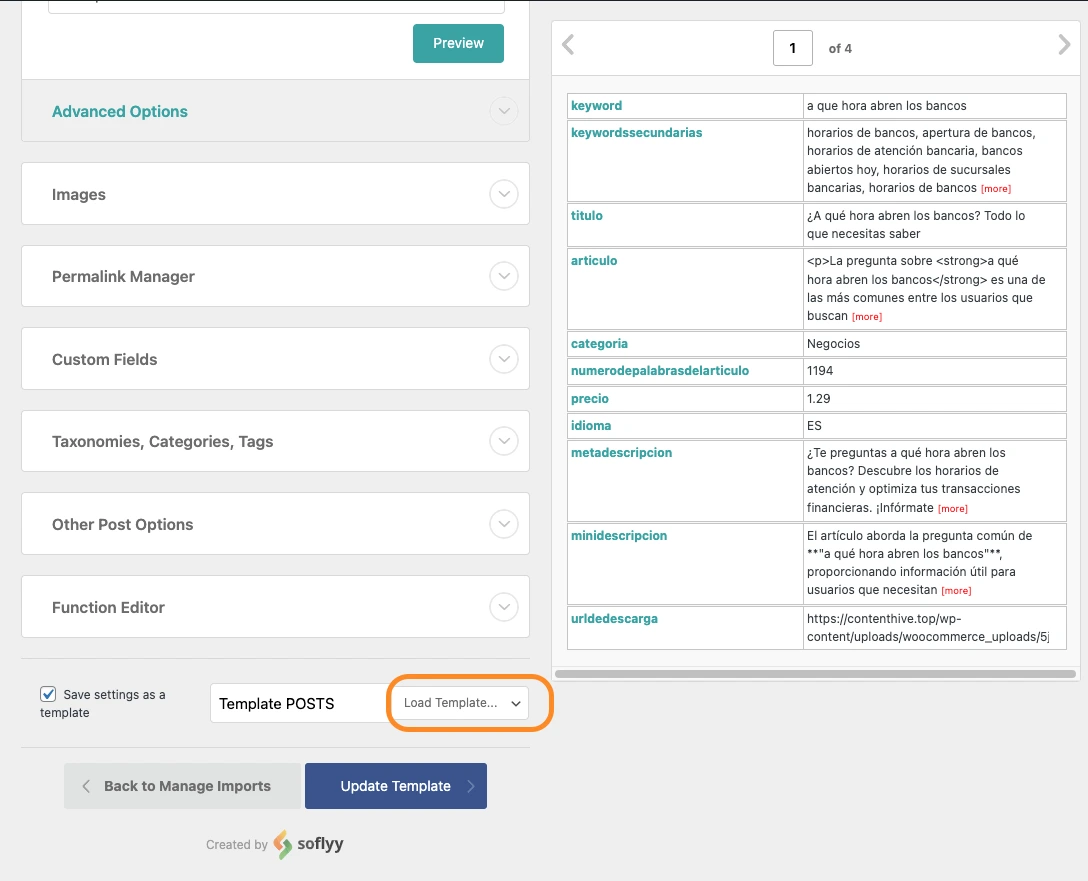
And wait a little until you see the filled holes like in the following images. They will fill themselves.
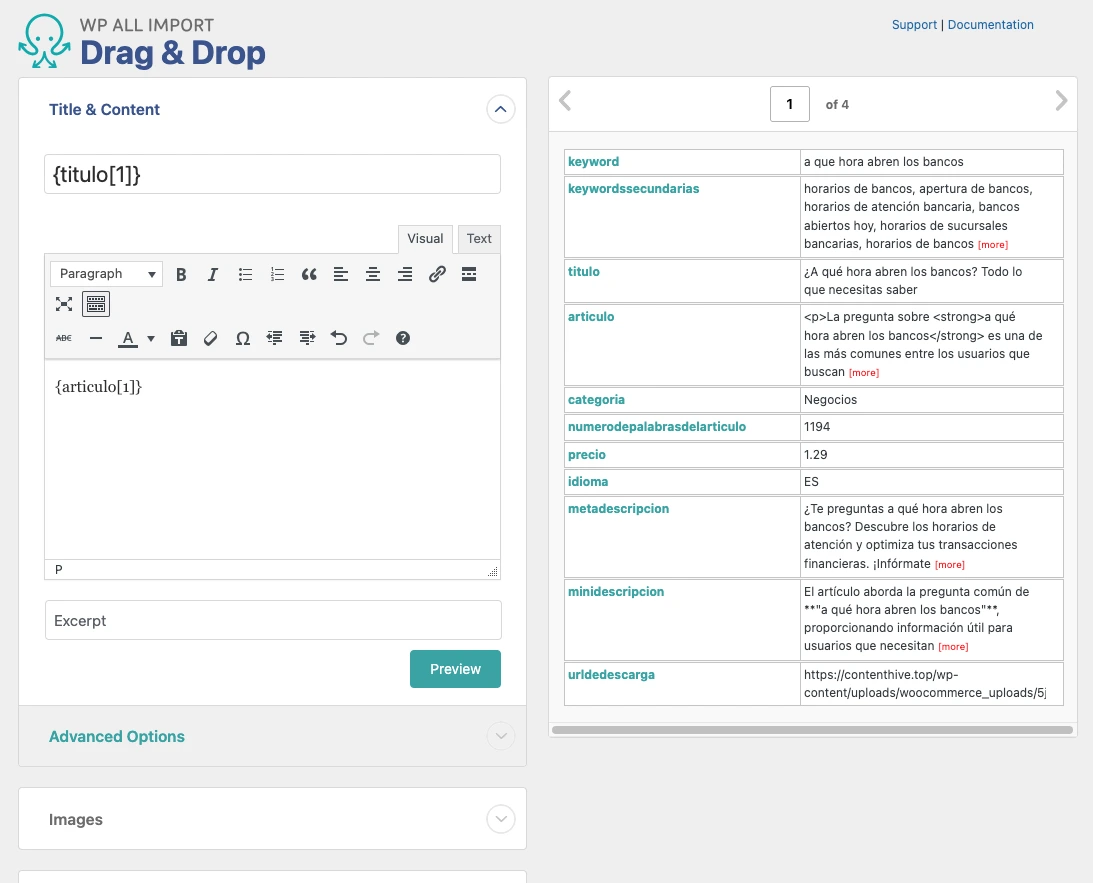
And we click Continue to the next step.
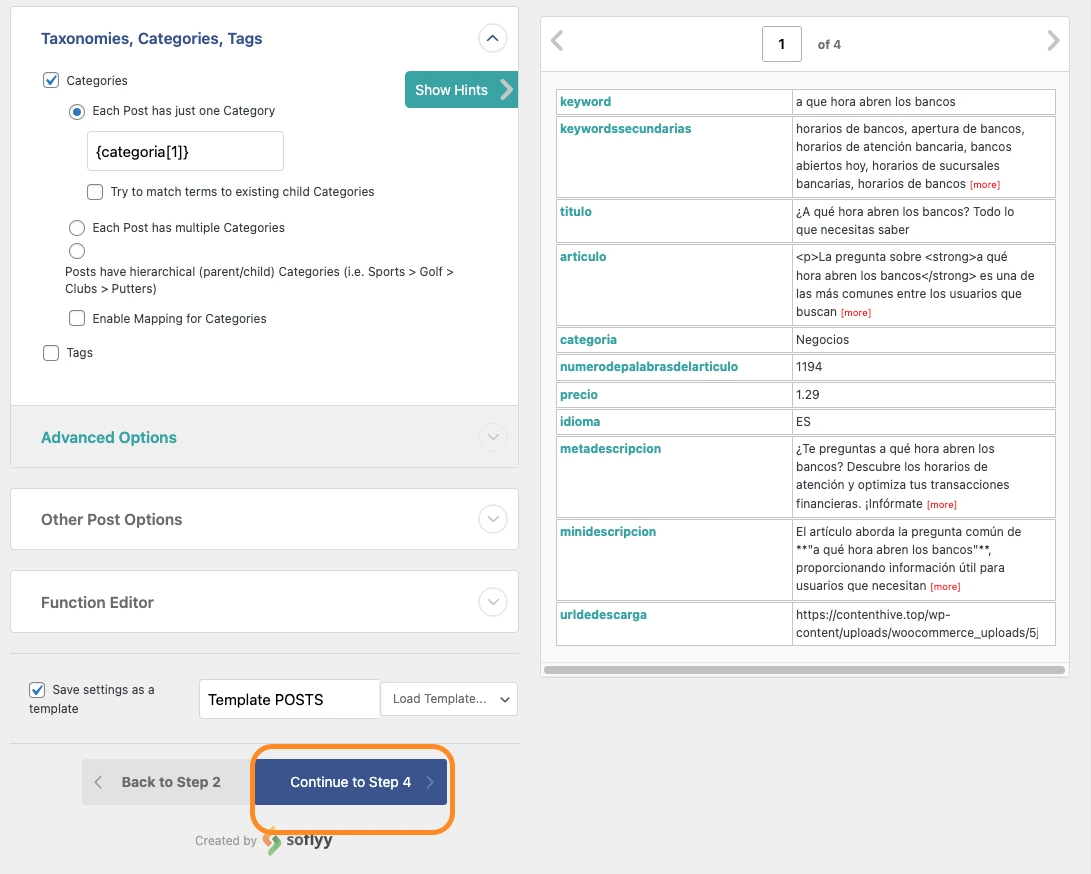
**The category that will be assigned to the post is the same as the one from which you are purchasing this same post in our store. If you don't want to change the category of the posts, you just have to open the csv and change them one by one or do "Find and replace" to leave the category that you have on your website.
7- Add this text {titulo[1]} to the box marked in orange. (In most cases, it already appears, but just in case we leave it highlighted here.)
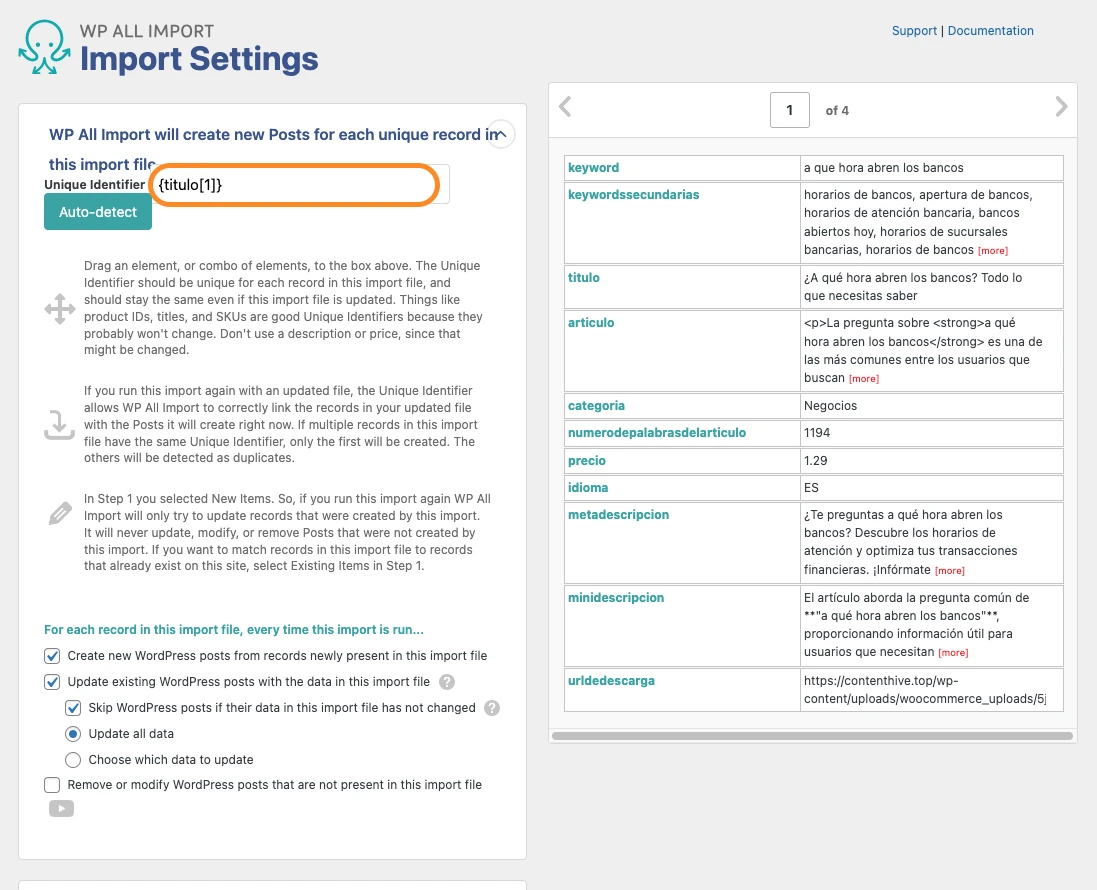
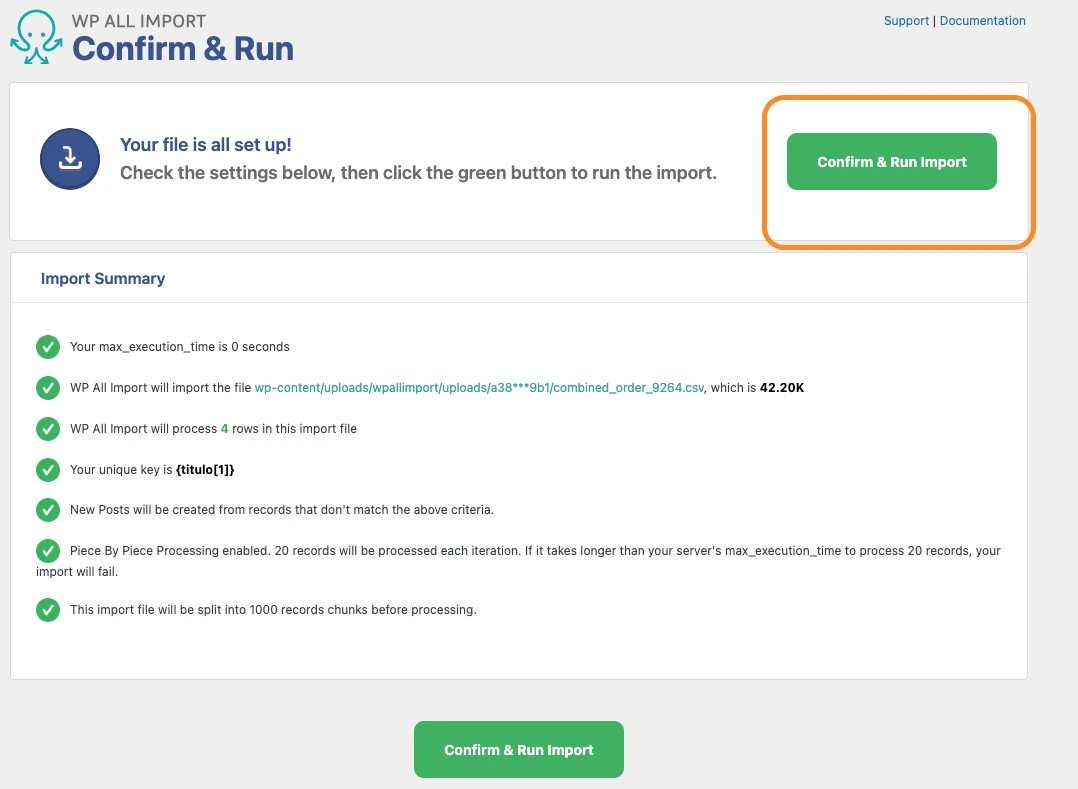
8- And finally, we click Confirm and Import.
Depending on the speed of your hosting and some other factors, you can publish more or less 1,000 posts every 15-20 minutes.
**If you understand how this plugin works, you will be able to do very useful things. How to schedule posts to be published every X amount of time, add SEO adjustments with Rank Math or Yoast SEO, add tags, etc.